
Is the scratched induction cooking plate to be changed? With this method it is as good as new in no time.
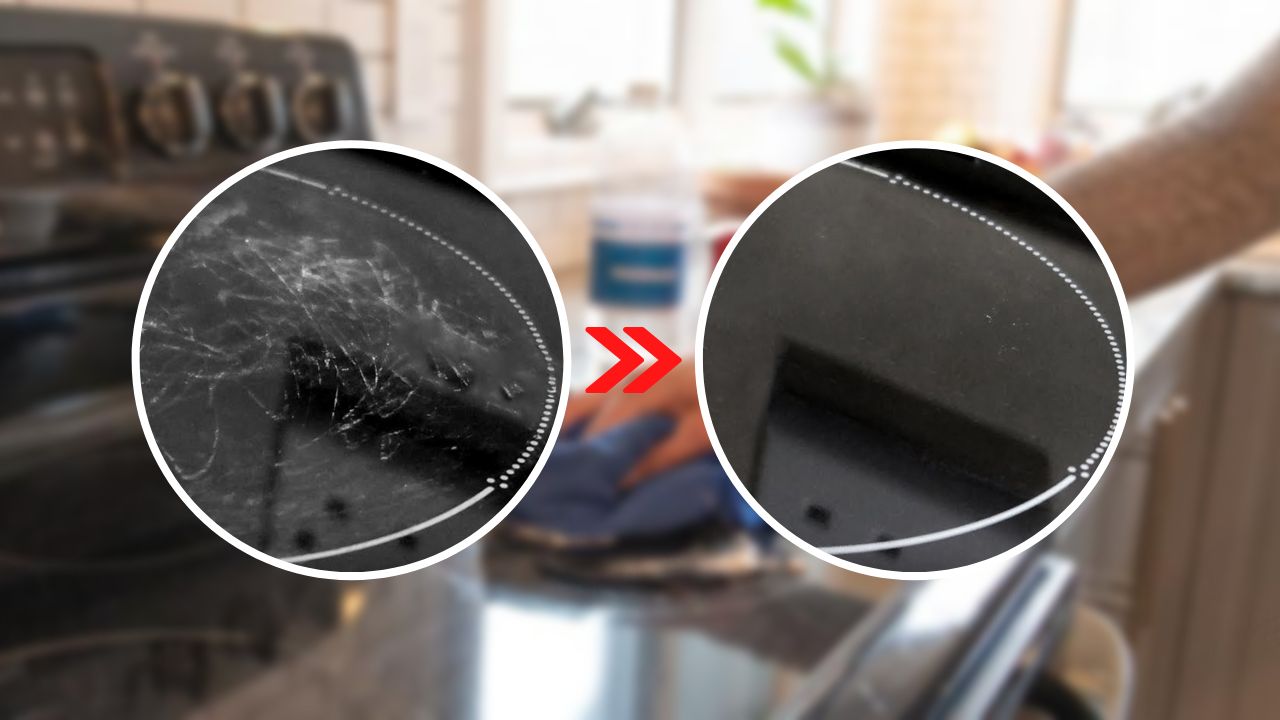
Elegant, beautiful to look at in open spaces, shiny and certainly minimal. Induction hobs are increasingly present in homes. Although they are resistant to heat and shocks, it is not uncommon to run into some scratches, perhaps caused by food residues on the hob or pan which, when rubbed, leave an indelible mark. Yet it is not certain that these signs are truly indelible. Here are a couple of methods to try and remove scratches from an induction hob.
Induction hobs, how fragile are they?
In recent years, induction hobs have become increasingly popular in homes. These, running on electricity, allow less dispersion of energy used and therefore greater efficiency. Their glass-ceramic composition makes them very resistant to impacts, so much so that they are classified as unbreakable. This characteristic means that they are not subject to food encrustations, making them undoubtedly very easy to clean compared to the classic gas hob. Yet, despite being unbreakable, their surface is not safe from small scratches and marks that can be caused in daily use.
How to remove scratches from your induction hob
It can happen, due to rubbing or distraction, to cause some scratches to the hob. Most of the time, however, the problem is easily solved. For surface scratches, it is possible to use a compound consisting of baking soda and warm water. Simply sprinkle the hob with baking soda, insisting on the area to be treated. Next, you need to pour a little warm water by mixing it with baking soda, until you create a paste. If the mixture becomes too liquid, add more baking soda to make it more pasty and leave it on for 15 to 30 minutes. After this time you can clean the hob of the mixture.
If the scratches do not disappear, there is a less homemade but certainly effective method.
How to remove deeper scratches
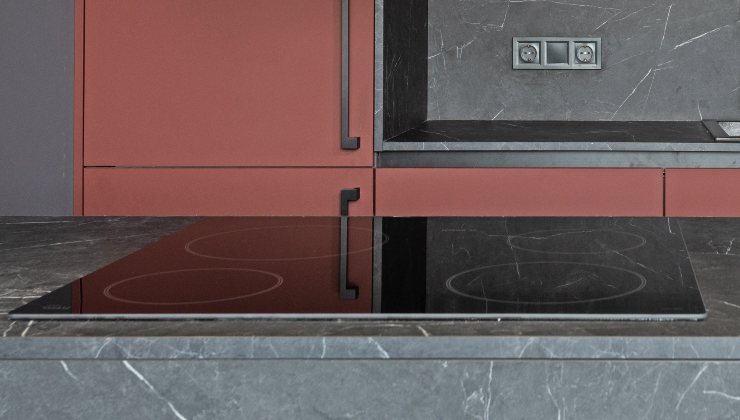
It involves using a specific paste for glass that is not abrasive but polishing, called polish. Of course, it is possible to do the work by hand but it is advisable to proceed with a polisher. The best tool to get the job done is a polishing pad that you attach to your drill. It looks like a small mop and you can easily find it for sale in hardware and household stores and will make your work much easier. You will have to proceed at low speed, slowly and with circular movements to spread the polishing product in the best possible way. Once it has been rolled out and worked for a while, you can simply remove it with a dry cloth. Its action, thanks to a consistency that seems homogeneous but is actually composed of abrasive micro particles, in addition to polishing the hob in the best possible way, will act on scratches by sanding slightly and making the hob more uniform, with very little effort.
If any scratches persist, you can repeat the operation several times. The expense for the necessities is not too high either, so it is undoubtedly worth the effort to try and remove your scratches.


