
7 paper napkins: here’s what you could get thanks to the directions below. A result that could leave you speechless.
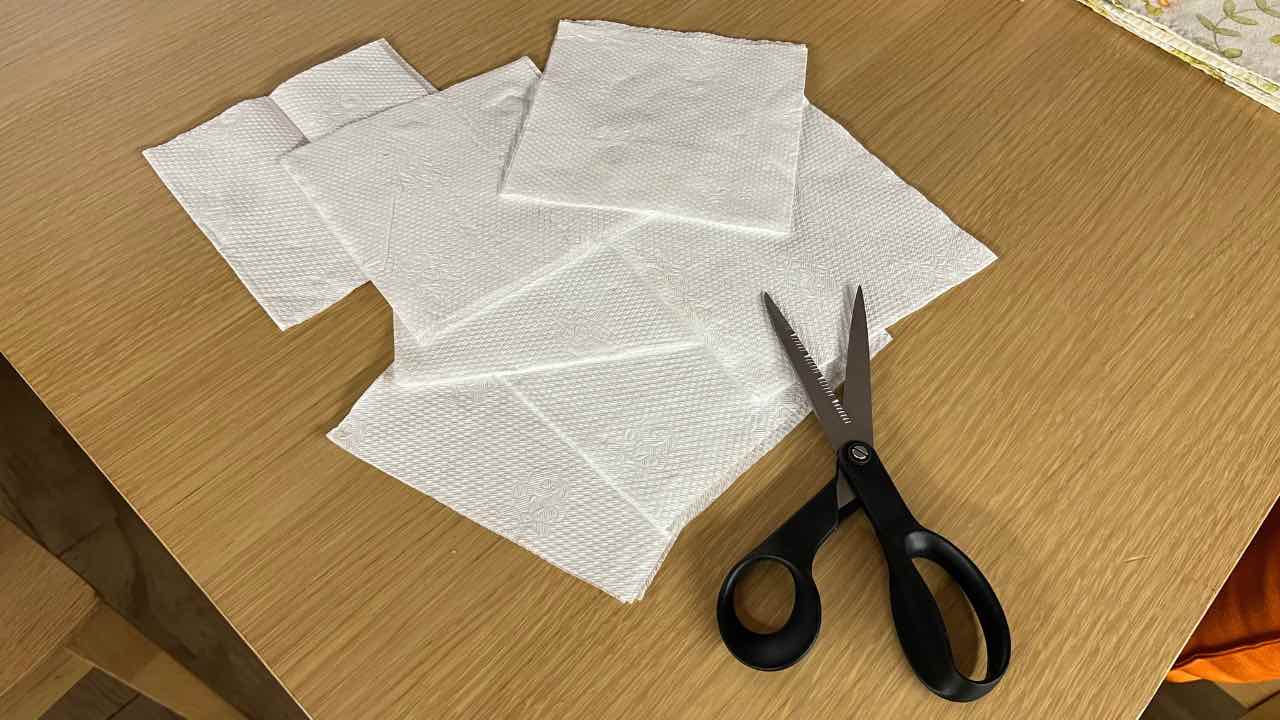
There are more and more people who prefer handmade works, not only to give space to their creativity, but also to have a practical way to save money. With the use of 7 simple napkins, you will be able to experiment with a new DIY method for a realization that will leave you stunned. Then you will see how to do it.
7 paper napkins: what they could be used for
As mentioned earlier, below we will talk about a practical way that can be useful to create something beautiful. What will have to be done to achieve this goal?
The first step to take is to equip yourself with a glass bottle with a small side handle. You will also need acrylic paint that you will have to spread over the entire external surface of the bottle.
You will then have to perfectly cover the entire external part of the bottle, with the help of a practical brush that will help you distribute it over it in the most appropriate way.
Once dried, it will be necessary to pass another layer of the same product over the entire bottle. At this point you will have to wait for it to dry well, in the meantime continue by taking a paper towel with a deer or the image you prefer printed on it.
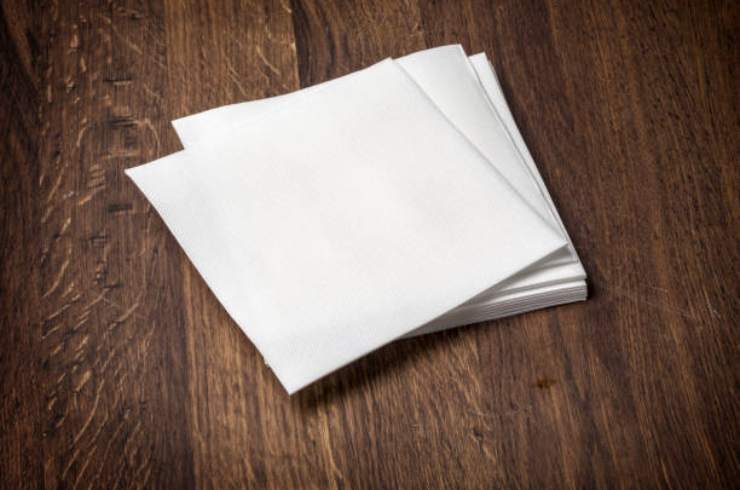
Going to open the same, you will realize that a sheet contains 4 identical images. Now you will have to go and cut these 4 depictions individually.
In the following phases you will have to intervene on each piece, cutting all the white spaces and cutting out the contours of the figure, so as to leave only that one whole. At this point you will need a special glue for the napkin paper, which you will spread on the bottom of the bottle.
If you have chosen the figure of a deer that has flowers on its antlers, for example, you can glue the first image on one side of the bottle, crushing the part with the flowers on the top.
Then apply more glue brushed with the brush on top, so as to make them adhere perfectly to the neck of the bottle.
Final procedure
After performing these steps, continue by applying a second figure on the opposite side of the bottle in the same way, so that you can find two identical images on both sides of the bottle.
Take some polymer clay and crush a small amount, which you will place on the figure of the deer, after spreading napkin glue on it.
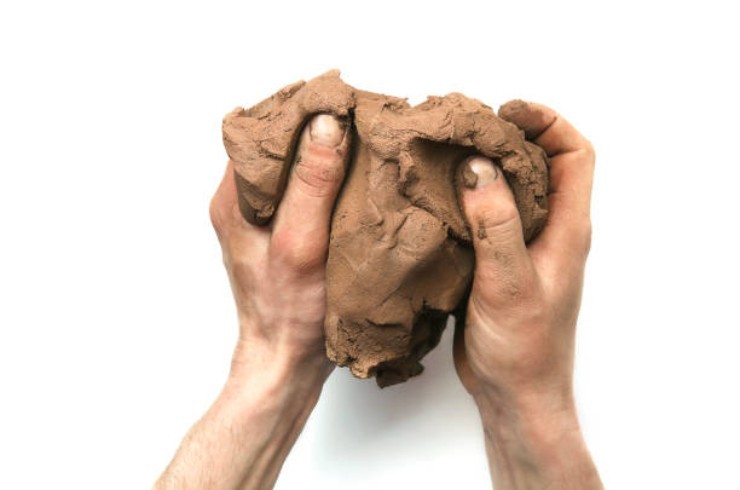
At this point you can remove the excess clay with a special tool, since only the clay present on the mold should remain.
From one of the other two deer images set aside, cut out one and apply it over the piece of clay, spreading a lot of glue on top with a brush. After pasting it on top, you will notice the three-dimensional effect achieved with this trick.
Take some metallic paint at this point, turn the bottle over and start applying this paint by squeezing it gradually with the brush all around the figure.
Continue until all the white part on both sides of the bottle is covered with it.
As a last step, use a varnish as a protection, to be spread with a brush on the entire outside of the bottle. It will serve to keep the work done so far intact, so that it lasts much longer without being damaged.
Your beautiful creation is ready to be used, for example as an original flower holder to be placed in plain sight in a room of the house.
Anyone who enters your home, when they notice this object that you yourself have created with your own hands, will be amazed. You will receive a lot of compliments on this item decorated with sheets of paper.


