
If you mix water and cement you can easily create a work that will drive everyone crazy: it takes just a few steps.
Many people love to enrich their home with many objects to put on the shelves, in order to brighten up every room and make it seem more alive. You can focus on puppets, but also on small ceramic compositions, up to real constructions. A vessel, for example, but also a car, up to a real miniature house. You may not know it, but it takes just a few simple steps to make a mini house to keep on some shelf or perhaps as a centerpiece. All you need is a few ingredients to start preparing the work.
Mixing water and cement creates an exceptional work
The first thing to do is to get a container where you can start making the mini house (a basin is fine). Inside we open a white cement bag, which we can easily find in hardware stores.

When we go to the store we will ask for a white cement preparation, so that we do not have to add anything but water.
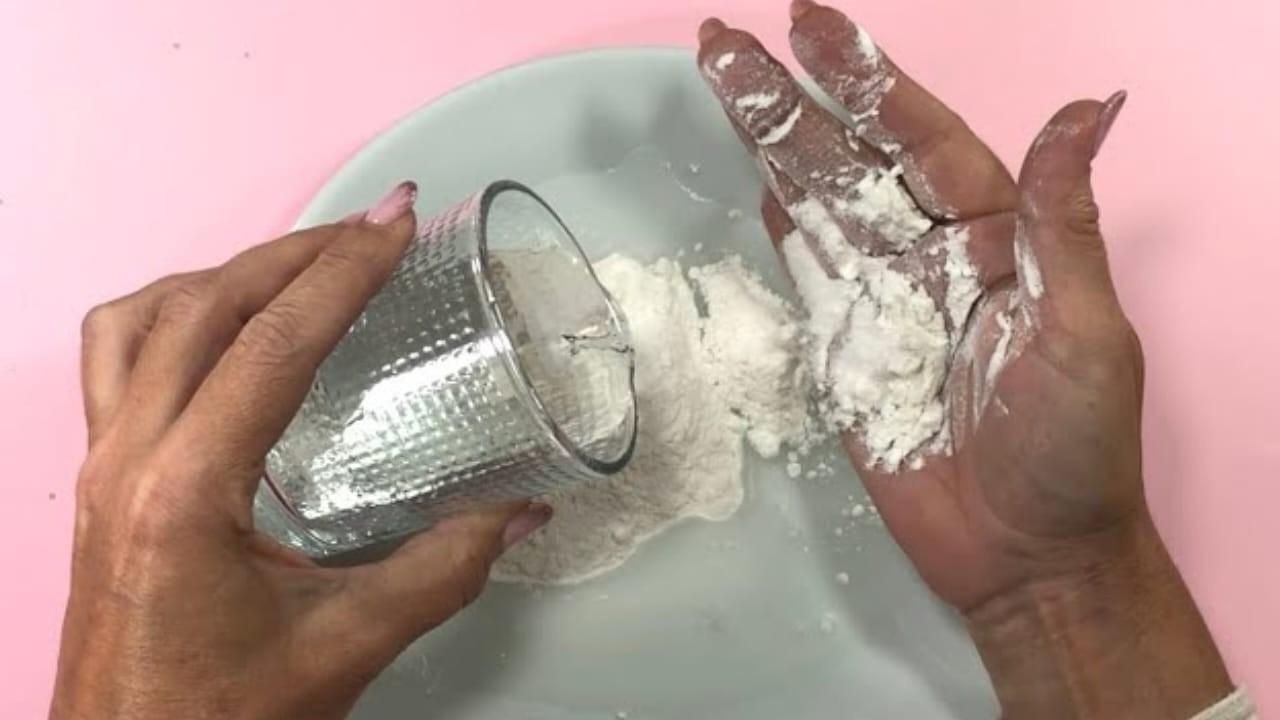
Inside the basin we place the white cement preparation by adding water and stirring until the solution takes on a slightly thick shape.
When the density has reached the right level, we can place the solution on a piece of cardboard suitably covered with a transparent film (it is better to use gloves to carry out this operation).
The next step is to cover the cement with cling film as well, after flattening it on the piece of cardboard. To smooth it properly we can use the plastic roll from which we took the cling film.
Once this is done, the film is removed and a rectangle and the top in the shape of a point are cut out of the concrete, as if it were the façade of a house. With the leftover concrete we are going to do the same operation again, since we need two identical pieces, i.e. the front and back side of the house.
With the help of a cutter and a burin we can go and make the doors and windows on concrete, obviously in the positions we like best. To make the different shapes we can use pasta cutters.
Following the technique now learned, we are also going to make the other sides of the mini house, where we are going to make windows and doors. Since the goal is to put a candle inside the house, the advice is to make a hole in the roof so as not to take risks.
Once this step is completed, it is necessary to let the cement cool down in order to harden it. When all the sides are very hard, all the contours are finished, including those of doors and windows.
Just a few simple steps are enough to have a beautiful mini house
Now we need some of that cement that we prepared at the beginning: we can do it again, and then apply it to the edges of the sides that we have made, so that it acts as a glue and allows us to join them together. To do it faster, just put the sides in an upright position.

Still with cement we complete the union of the sides until we cover all the holes and let our work begin to take on a compact shape. With a spatula we also add the roof.
As soon as the construction is completely cool and hardened, you can proceed with cleaning using a clean, soft cloth. With a pencil we can create additional decorations on the façade and also roof tiles.
All that remains is to place the candle inside the mini house. With the hole made in the upper part, there is no risk of fire. Concrete withstands candle heat very well.


