
What to create with the help of shells and sand? A truly incredible DIY method, to try immediately.
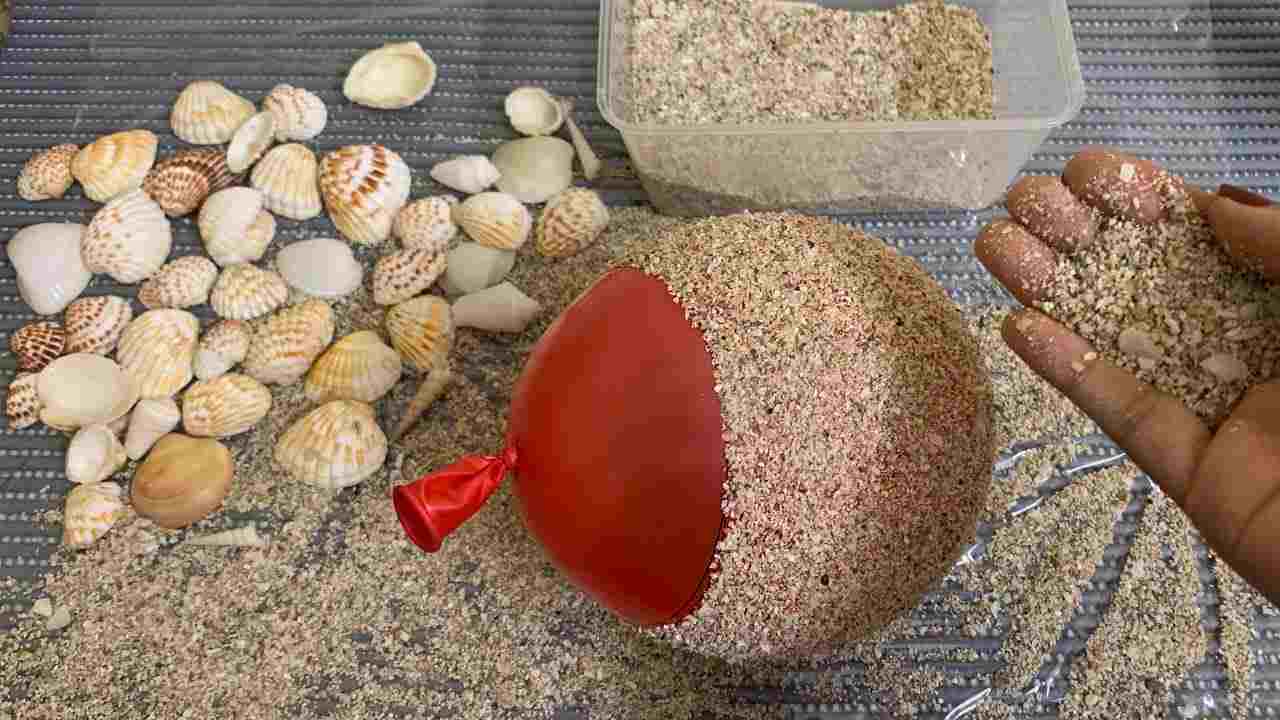
Do you have shells and sand available? All it takes is a little touch of imagination and a few moments of manual skill to obtain something unique in its kind. The experts explain it step by step, with the help of video tutorials.
What to do with available shells and sand?
If you want to add a touch of sea and creativity to your home or garden, creating a DIY flowerpot with sand and shells can be a beautiful idea. Follow these steps to make your DIY flowerpot:
Materials needed:
- A clear glass or clay vase or balloon;
Colored sand (you can find various shades at craft stores);
Shells of different sizes and shapes;
Waterproof and heat-resistant glue;
Clear acrylic paint (optional);
Plants or flowers of your choice;
Paddle or plastic dish for mixing the glue.
Step 1: Prepare the vase
If you have chosen a terracotta pot , make sure it is clean and free of dust. If you want to give the pot a pop of color, you can paint it with acrylic paint. Choose colors that match the nautical theme, such as blue or aqua green. Let the paint dry completely before proceeding.
If you have opted for a transparent glass vase , you can skip this step and go directly to the next phase.
Step 2: Prepare the shells
Collect shells of different sizes and shapes . You can find them during a walk on the beach or buy them in specialized shops. Wash them thoroughly with soap and water to remove any sand or algae residue. Let them dry completely.
Step 3: Prepare the glue
Pour some water and heat resistant glue on your palette or a plastic plate. The glue will act as an adhesive for the shells and sand.
Step 4: Apply the sand
Take your vase and start applying the glue to the outside , one layer at a time. Make sure to work on small portions of the vase at a time to prevent the glue from drying too quickly. After applying the glue, take the colored sand and sprinkle it on the vase, pressing it gently with your fingers so that it adheres well. Continue this way until the entire vase is covered in sand. Let it dry for at least an hour.
Step 5: Apply the shells
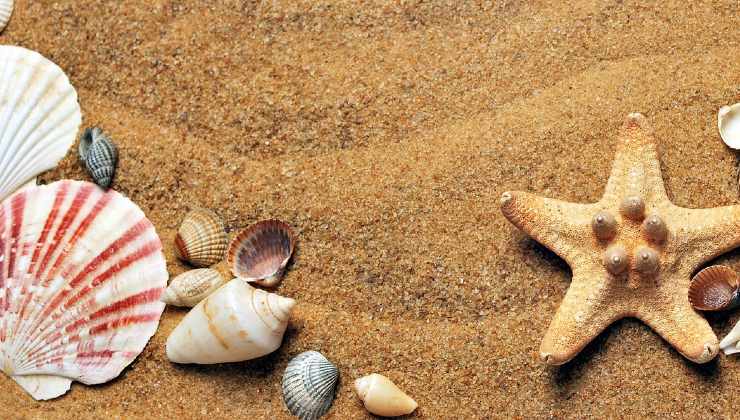
Once the sand is completely dry, you can start applying the shells. Use glue to fix them on the surface of the vase. Choose a placement that you like and try to distribute the shells evenly. You can overlap them or position them as you like, depending on the style you want to achieve. Let the glue dry completely.
Step 6: Protect the jar of shells and sand
If you want to protect the sand and shells from fading over time, you can apply a coat of clear acrylic varnish to the entire vase. This will help maintain the beauty of your DIY flower vase over time.
Step 7: Transplant the plants
Once the pot is completely dry, you are ready to transplant your favorite plants or flowers. Choose the plants based on where you will place the pot. If you place it in a sunny area , choose plants that like direct sunlight. If you place it in a shadier place, choose plants that prefer shade.
Now your DIY sand and shell flower vase is complete and ready to display. Place it in a location where it can be admired by all.
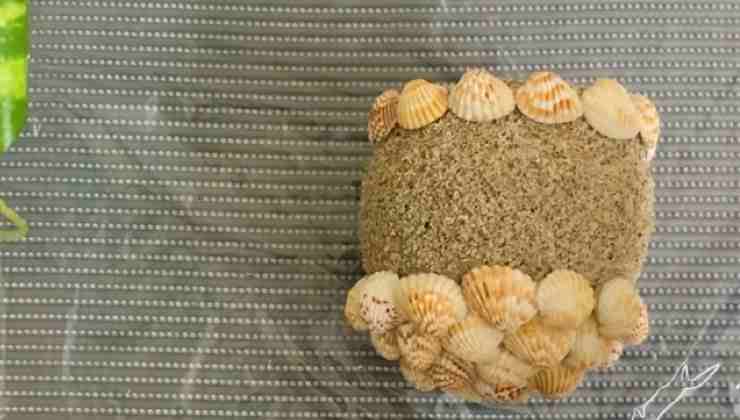
Making a DIY flower vase with sand and shells is a fun and creative way to personalize your decoration and add a touch of the sea to your space.


